Month: February, 2011

Yoga Game Time

February 16th, 2011

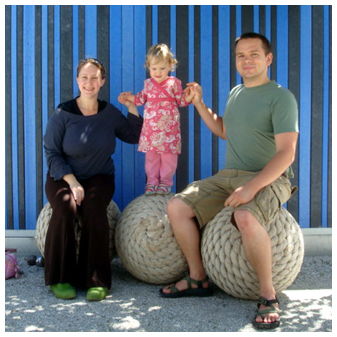
Our daughter began her yoga studies prenatally (when I was around six months pregnant).

She then came with me to Mama and Baby yoga class for around two years:


This past summer she started going to her very own yoga class — by far her favorite structured class activity:

Because she’s grown up with it, she sees David head off to his yoga practice three days a week, because it’s a way of life around here, she’s crazy about yoga.

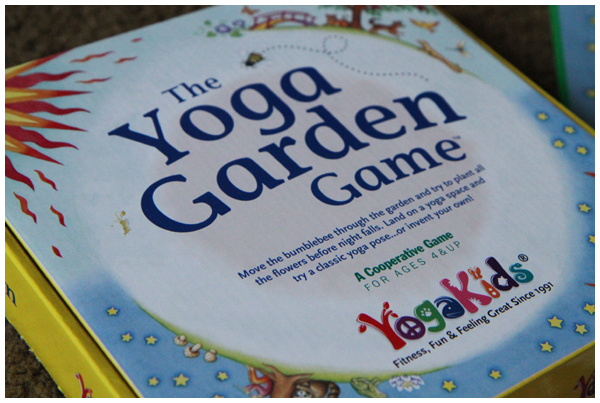
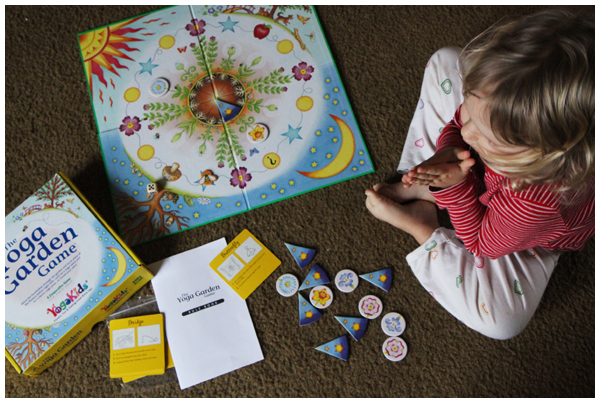
We knew this game, The Yoga Garden Game, would be a star player in her birthday present lineup.

What I love best about this game is that it’s about cooperative play; there are no winners or losers. We have fun doing yoga and working together to plant a flower garden before night falls.

Our daughter loves it.

She has the rules memorized, knows the yoga moves in the game, and plays it every single day.

2 comments | permalink

A Fruity Yogurt Snack with Three Part Lesson

February 15th, 2011

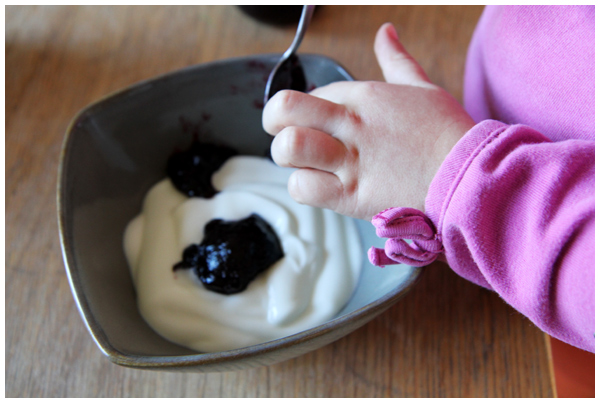
Mix jam (fruit sweetened, no sugar added) into plain yogurt for a healthful, everyday snack.

This homemade version is less expensive and more versatile than buying smaller individual containers of flavored yogurt without the ton of sugar typically added.

Plus, toddlers who love to help can make it themselves! Score, an everyday learning activity!

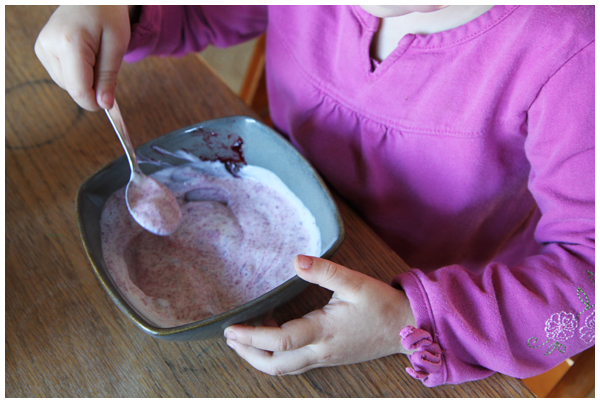
1) Vocabulary/concept building: First stir your spoon clockwise, then stir it counter-clockwise. “Quick, switch! Time to stir your spoon clockwise!”

2) Color lesson: What color is the yogurt mixture? Mix in some more fruit spread. How does the color change? Is it darker or lighter? What color is it?

3) Taste lesson: Discuss the taste of the plain yogurt. As you’re mixing in the fruit, stop occasionally to see how the yogurt begins to taste sweeter. Mix in a different flavor (i.e. mix blueberry into the strawberry yogurt) and talk about how the taste changes.

Yes, we really do stuff like this at home.

Yes, we’re nerds.

Yes, we can’t help it. For us, it’s fun!

2 comments | permalink

Valentine’s Day Cards

February 14th, 2011

We do a very low-key Valentine’s Day celebration at our house. As far as we are concerned, treasuring each other and showing our love for one another is a daily activity.

This year we’re doing a handmade card exchange for the youngest member of the family. Although David and I don’t give each other cards (for any occasion, actually; more on this in a moment), we recognize that our daughter would love the giving and receiving aspect of this holiday.

(Instead of cards, David and I exchange phone calls and talk when we’re together. With at least one “I love you” per conversation, everyone in a ten foot radius knows how we feel. You should feel sorry for David’s coworkers. I call him five times a day. Yes, we’re that couple.)

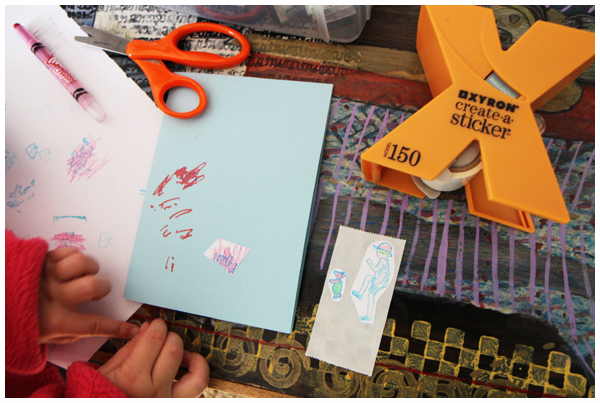
Back to our card-making endeavors, the girls have been taking this card exchange very seriously and we’ve been hard at work.

As you can see, someone continues to teach herself to write. She also can multi-task! Look how she’s holding her baby doll in her baby sling while she writes.

I am not sure which of these two things I feel most proud.

Happy Valentine’s Day! Go buy yourself some chocolate and know that this is just another day regardless of how you spend it.

1 comment | permalink

A Garden To-Do List

February 11th, 2011

We haven’t touched our front garden in four months and you can tell.

After our hard work last summer, this mound of weeds is a terrifying sight.

The winter rains have helped the weeds take over the yard. We never pruned back our perennials (plants that will grow back again this spring). We never yanked those bare cosmos plants, annuals dead because of frost and in dire need of being removed. The yard was a mess:

We’ve had a string of gorgeous (gorgeous!) summer-like days, so my daughter and I spent two hours starting to whip that front yard into shape. We’re all about telling that clover who’s boss.

(Especially when it’s 75 degrees out and super sunny; we HAD to be outside.)

After our mama-daughter clean-up party, the yard looks a little bit better:

We still have lots to do. Here’s our list of garden tidying tasks for the month:

1. Take down and dissemble holiday wreaths.

2. Remove rotting pumpkins from porch and place into compost bins.

3. Tiddy up kids toys so we don’t come close to breaking our necks every time we enter the house.

4. Find a pillow and sew a cover for the porch chair. This one has been on my to-do list for two years. We’ll see if we get to it this year.

5. Finish weeding. Cause we have three feet tall giant purple allium bulbs set to arrive in this exact spot soon. Like next week.

6. We also need to lay down a layer of compost and mulch to prepare for the long, dry summer ahead.

We have a little bit of time for the last task because even if it feels like summer with these atypical hot and dry days, it’s really just February, right?! Oh, wait, it’s February in Northern California and our last frost date is a month and a half away!

My to-do list just got longer.

It appears I need to get our veggie beds ready too. Time to start those cool-season crops on our windowsill because spring is just around the corner.

I’m so excited! Stay tuned!

Comments Off on A Garden To-Do List | permalink

The Bobbin Winding Continues

February 10th, 2011

We’ve been hard at work organizing our arts and craft supplies. Today I am focusing on our ongoing attempt at bringing order to our giant stash of embroidery floss.

We have been slowly and steadily winding our way through the enormous quantity of embroidery floss that my mother-in-law gave me for Christmas. (Have I mentioned how much I love that my in-laws own an arts supplies store and gallery?!)

Lucky for me, our three-year old daughter loves to help me wind bobbins.

I believe bobbin winding is a great activity to build hand strength. I’ve read about how cutting with scissors helps build hand strength in children, an essential first step towards writing. I believe that bobbin winding also helps with this as well. Both the winding of the handle and the holding of the string helps develop hand dexterity and strength.

We also added a color lesson to today’s bobbin winding activity. (I love how every day activities can be transformed into learning experiences!) We sorted the strands into piles of different colors:

We also giggled when we mixed them up, purposefully placing (throwing!) a pink floss in the blue pile, for example, which sent my daughter into a fit of giggles:

The kid loves adding chaos to my attempt at finding order.

We so enjoy these mama-daughter activities. We’ve found sorting floss and winding bobbins to be a calming, quiet activity to do together.

We only have a couple hundred bobbins to go. Piece of cake! I think it may take us all year.

1 comment | permalink

Our Go-To Dressing

February 9th, 2011

We recently stopped buying salad dressing and started making our own from scratch. We found vinaigrette making to be easy, containing fewer additives, costing less to make, and tasting so much better.

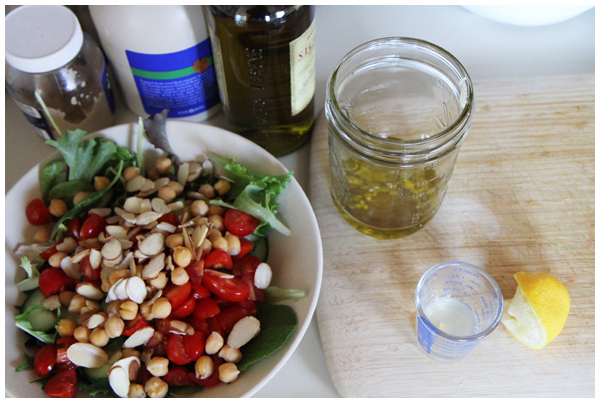
Here’s our go-to salad dressing that’s our current favorite.

This maple-mustard vinaigrette uses simple ingredients (pantry staples!), takes 5 minutes to make, and lasts for the week.

Maple-Mustard Vinaigrette

Yield: Makes 3/4 cup

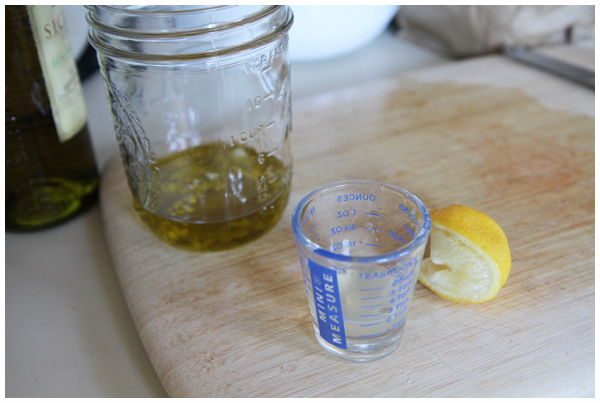
1/4 cup extra-virgin olive oil
2 tablespoons maple syrup
2 teaspoons fresh lemon juice
1/2 teaspoon Dijon mustard
1 small shallot, minced (we use 2 small garlic cloves instead)
1/2 teaspoon salt
1/2 teaspoon freshly ground black pepper

Whisk together all ingredients in a medium bowl or a small bell jar; set aside.

We’ll never go back to store bought dressings after this.

3 comments | permalink

Make Your Own Stickers

February 8th, 2011

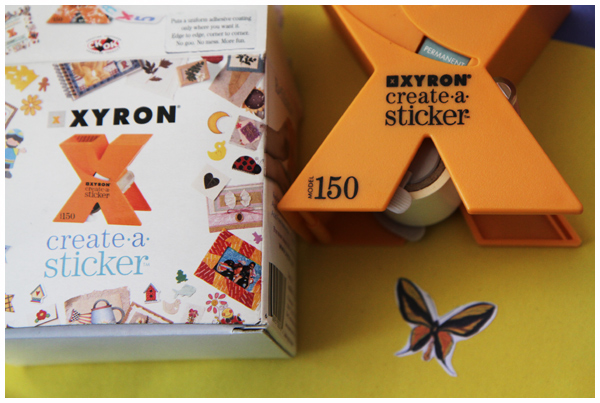
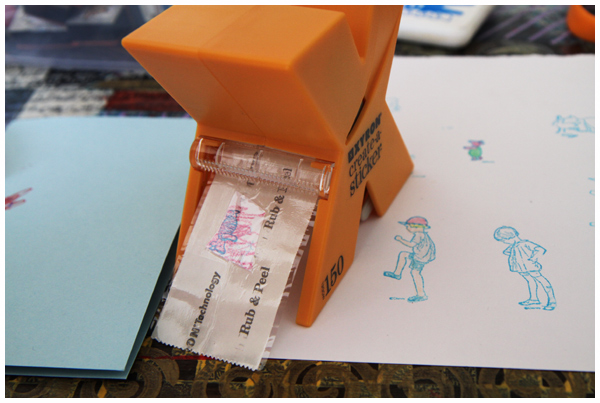
We picked up a Xyron Create a Sticker Machine at our local craft resale shop, along with a refill cartridge for just a couple bucks. Thrift store score!

The sticker maker machine is actually incredibly affordable (i.e. under $6!), so if this project appeals to you at all, I recommend picking one up! We’ve been using ours every day since we bought it.

Here’s how we made our own stickers:

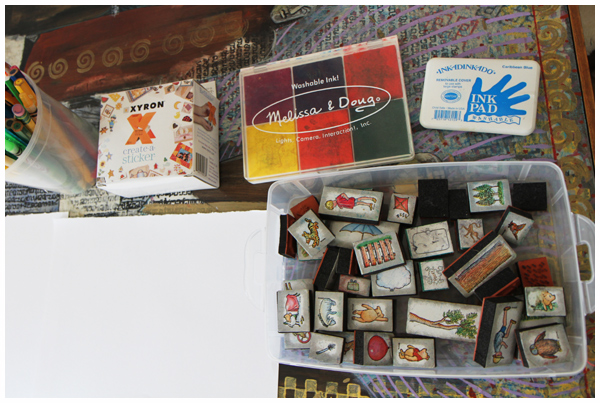
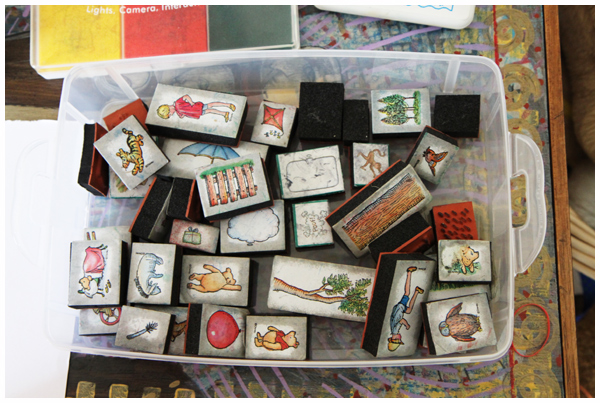
We used plain construction paper, colored pencils and our Winnie the Pooh stamps, also scored from a thrift store. These stamps may look old and well-loved, but I’m thrilled we found them as I have been unable to find similar ones anywhere.

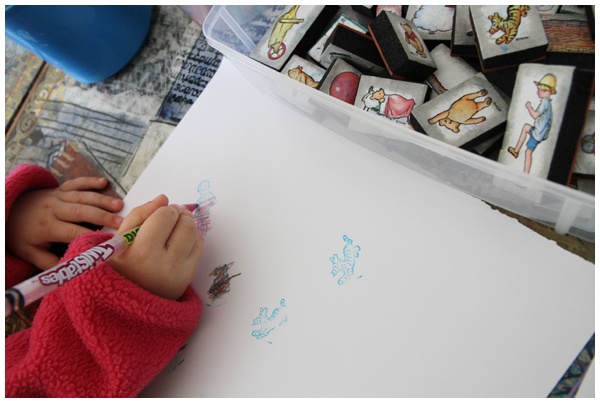
We stamped different Hundred Acre Wood characters onto plain paper, then filled in (over!) the outlines with colored pencils.

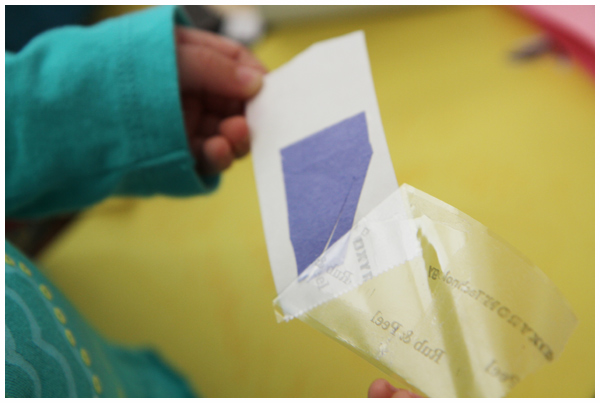
After cutting out the stamp shapes, we fed them through the sticker maker, peeled off the front and back of the tape, and voilĂ ! We have a personalized Piglet sticker! Our little girl was thrilled.

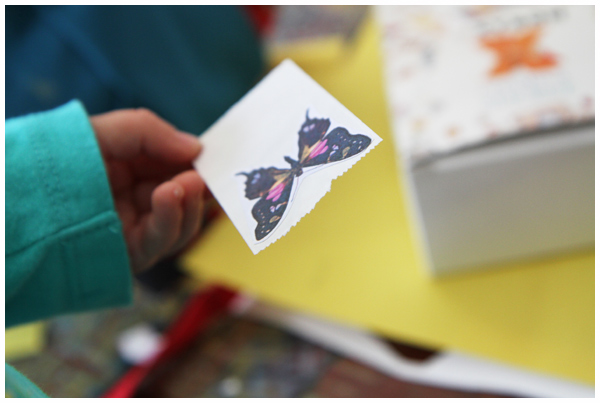
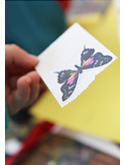
We’ve also made butterfly clip art and colored shape stickers cut from construction paper.


The possibilities with this sticker maker are endless!

We used these beautiful handmade stickers on some of the thank you notes from our birthday festivities. A handmade-touch to the cards and a super fun project!

1 comment | permalink